DevResults offers several tools for defining projects:
- Create or edit a single project
- Create or edit multiple projects using an Excel upload
- Edit multiple projects from the project index
Note: Any user whose group includes View & Edit permissions for Project Overview can create new projects.
Create a project
To add a new project in DevResults go to Program Info > Projects from any page.

This will open the projects index page. To create a new project, click the + New Project button in the lower right.

In the Create New Project pop-up, type the name of the new project and click the + Create Project button.

You will be taken to the new project's Overview tab where you can add other information about the project.

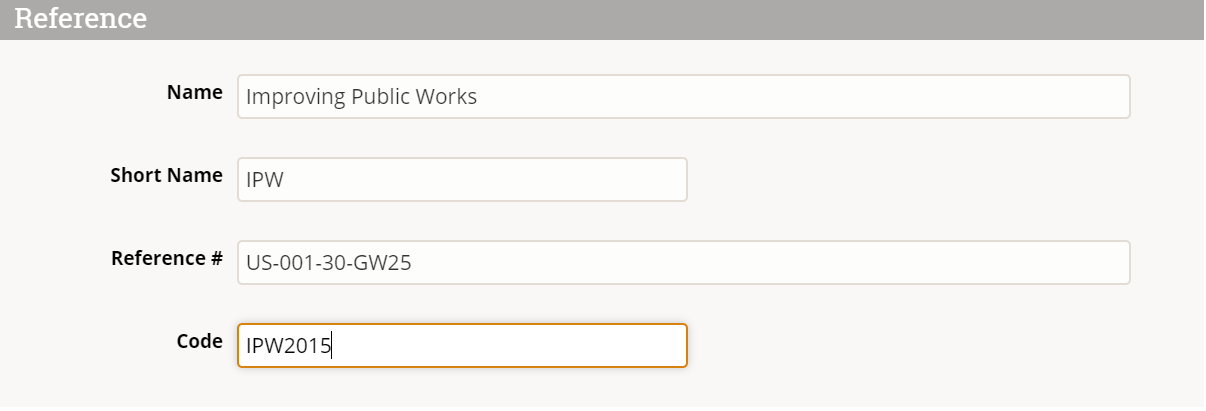
This includes reference information, including:
- Short Name - such as the name everyone uses when speaking about the project
- Reference Number - such as the grant number
- Code - such as an additional internal code for the project
And descriptive information. If you'd like to change, add to, or remove the fields in this section, you can do so by going to Administration > Custom Fields. Read more about custom fields for projects.

To configure a new project in DevResults for reporting indicator results, the project must be assigned a number of other elements. These elements include:
- Status: You must select a status to find this project when filtering by status.
- Mechanism: You must select a mechanism to find this project when filtering by mechanism.
- Dates: You must add dates in order for this project to appear on the timeline or to find this project when searching by date.
- Reporting Periods: You must add the reporting periods for which this project will report indicator results or narrative results.

- Results and Indicators: You must assign the results and indicators for which this project reports data. You can look at the Assign an Indicator to an Project page for more information.

Organization Info: You must add the partner organization that will manage this project in order to enable that organization's DevResults users to report indicator results and narrative results for this project.
- Partner Type: You can select a Partner Type to indicate what type of partner relationship this is.
- Primary Contact: You can optionally add the primary contact for this project.
- To add organizations, users, or partner types, click the relevant buttons below the grid. Once you've added them, clicking the Done button will bring you back to this screen.

- Staff Roles: You must assign users in order for those users to be included in emails generated by DevResults about reporting project and from communication in the Discussion tab. Partner users cannot access an project unless they are assigned to it in this table.

Finally, for this project to be completely set up for reporting indicator results and narratives for each of its reporting periods, you must Assign a Geography to an Project.
Edit a project
To edit an project, go to Program Info > Projects from any page. This will open the projects index page.
Click on the project you'd like to edit. Make desired changes.
Note: You can change information in the Reference and Description sections without affecting indicator results. Unassigning reporting periods, indicators, or geographies will delete any data reported for those elements for this project.
Upload new projects
To add many new projects at once, you can upload a spreadsheet containing their details instead of creating each project individually. First, go to Program Info > Projects to open the project index.
On this page, click on the gear icon and then click Download Blank Template to get an Excel template.

Edit the Excel file by adding the list of projects you'd like to upload.

- Awarding Organization needs to reference an organization that already exists in your site.
- You can enter multiple Sectors separated by commas, for example: "Health, Education".
- You can enter multiple Tags separated by commas, for example: "Training, Engagement".
- For Status, Mechanism, Sectors, and Tags:
- If you have permission to edit these elements, you can add new values in the template and they will be created when you import the new file.
- If you do not have permission to edit these elements, the template must reference values that already exist in the site, or the import will be rejected.
Save your spreadsheet, click the gear icon again, and select Import.

This will open a pop-up window to walk you through the upload process. Choose your file and make sure the summary shows you the expected number of new projects. If there are any errors in the file, you'll get a message explaining what they are. If everything looks good, click Continue.

You'll get a message saying that the projects were imported. Once you click Done, your project index page will refresh and you'll see your new projects there!
Edit multiple projects using an Excel upload
You can also use Excel to update multiple projects. To do so, use the same instructions as above, but instead of downloading a blank template, choose Export All.

Then edit the spreadsheet that you downloaded -- for example, to add a new sector or tag.
Note: To edit existing projects, DO NOT delete or change the field titled `awardID`. This is the only way the system knows which project should be updated.
When you import the Excel file, existing projects will be updated with any changes to the spreadsheet.
Edit multiple projects from the project index
To make managing projects easier and faster, we offer the ability to edit multiple projects at once right from the project index. Currently, the edits you can make this way are:
- Bookmarking projects
- Assigning indicators
- Assigning tags
- Assigning sectors
- Assigning reporting periods by dates
- Changing status
- Deleting projects (don't worry -- we'll check with you to confirm this is really what you want to do!)
First, go to the projects index page by clicking Projects at the top of any DevResults page.
Click the checkbox next to the projects to edit. You can either scroll through the list to find what you need, or use the left hand filters to narrow the list (and then select all). In this example, we've selected all projects in the Health sector.

Next, click the button for the edit you'd like to complete. This will open a pop-up to help you complete that action. In this example, we're assigning four indicators to the selected projects.

Notes on specific tools
- Bookmarks: Bookmarked projects appear on your dashboard in the "Bookmarked Projects" tile. Every user has their own set of bookmarks; this does not edit anyone else's bookmarked projects or dashboard.
- Assign indicators: Each project-indicator assignment comes with the indicator's default reporting cycle, such as "quarterly" or "annual". To edit the reporting frequency for any particular project-indicator assignment, go to the project's overview page.
- Assign reporting periods by dates: This action assigns reporting periods from all reporting cycles based on the start and end dates for the project. If the span of the project overlaps with the span of a reporting period, even by just one day, then that reporting period will be included. If an project is missing a start or end date, this action will not affect that project . No duplicate assignments are created, so it's ok to include projects that might already have some or all reporting periods assigned. You can always go to an project overview page to add or remove reporting periods as needed.
Didn't answer your question? Please email us at help@devresults.com.