Assigning users to projects provides three main benefits:
- Provides a shared record of who is involved with a project, both internally and externally
- Ensures that associated users get notifications about project discussions and data submission/approval (depending on your site's notification settings)
- Provides partner users with access to the project
There are several tools in DevResults for assigning users to projects
- Assign user(s) to a project on the project's overview page
- Assign user(s) to project(s) from the project index
- Assign project(s) to a user on the user's profile page
- Assign project(s) to user(s) from the user index
- Import assignments from the bulk imports page
Note: If any of these options is unavailable, your permission group does not allow you to update this information. Please speak with your supervisor.
Assign user(s) to a project on the project's overview page
On a project's overview tab, scroll down to the bottom to see the Staff Roles and Partner Access section.
Click on Assign Users.

In the popup, select the user(s) you'd like to assign to the project. You can filter the list of users by group and organization, or search by name or email in the search bar at the top. Then click Assign.

If the user is not listed in the popup index, see: Manage Users.
Optional: In the Role column, add the role the user has for this project. This might differ from their formal job title, as users might have different roles within different projects.
Assign user(s) to project(s) from the project index
- Go to the user index at Program Info > Projects.
- Select one or more projects using the checkboxes to the left of each user. You can filter the projects to find those of interest using the filters on the left, e.g. to select all projects for a certain organization or with a certain tag.
- Click Assign users.
- Select user(s) from the pop-up. You can filter the users to find those of interest using the filters on the left, e.g. to select all users in a certain organization or in a certain user group.
- Click Assign.

Assign project(s) to a user on the user's profile page
- At the bottom of an individuals' profile page, click Assign Projects.
- Select project(s) from the pop-up. You can filter the projects to find those of interest using the filters on the left, e.g. to select all projects for a certain organization or with a certain tag.
- Click Assign.
Optional: In the Role column, add the role the user has for this project. This might differ from their formal job title, as users might have different roles within different projects.
Assign project(s) to user(s) from the user index
- Go to the user index at Administration > Users.
- Select one or more users using the checkboxes to the left of each user. You can filter the users to find those of interest using the filters on the left, e.g. to select all users in a certain organization or in a certain user group.
- Click Assign projects.
- Select project(s) from the pop-up. You can filter the projects to find those of interest using the filters on the left, e.g. to select all projects for a certain organization or with a certain tag.
- Click Assign.
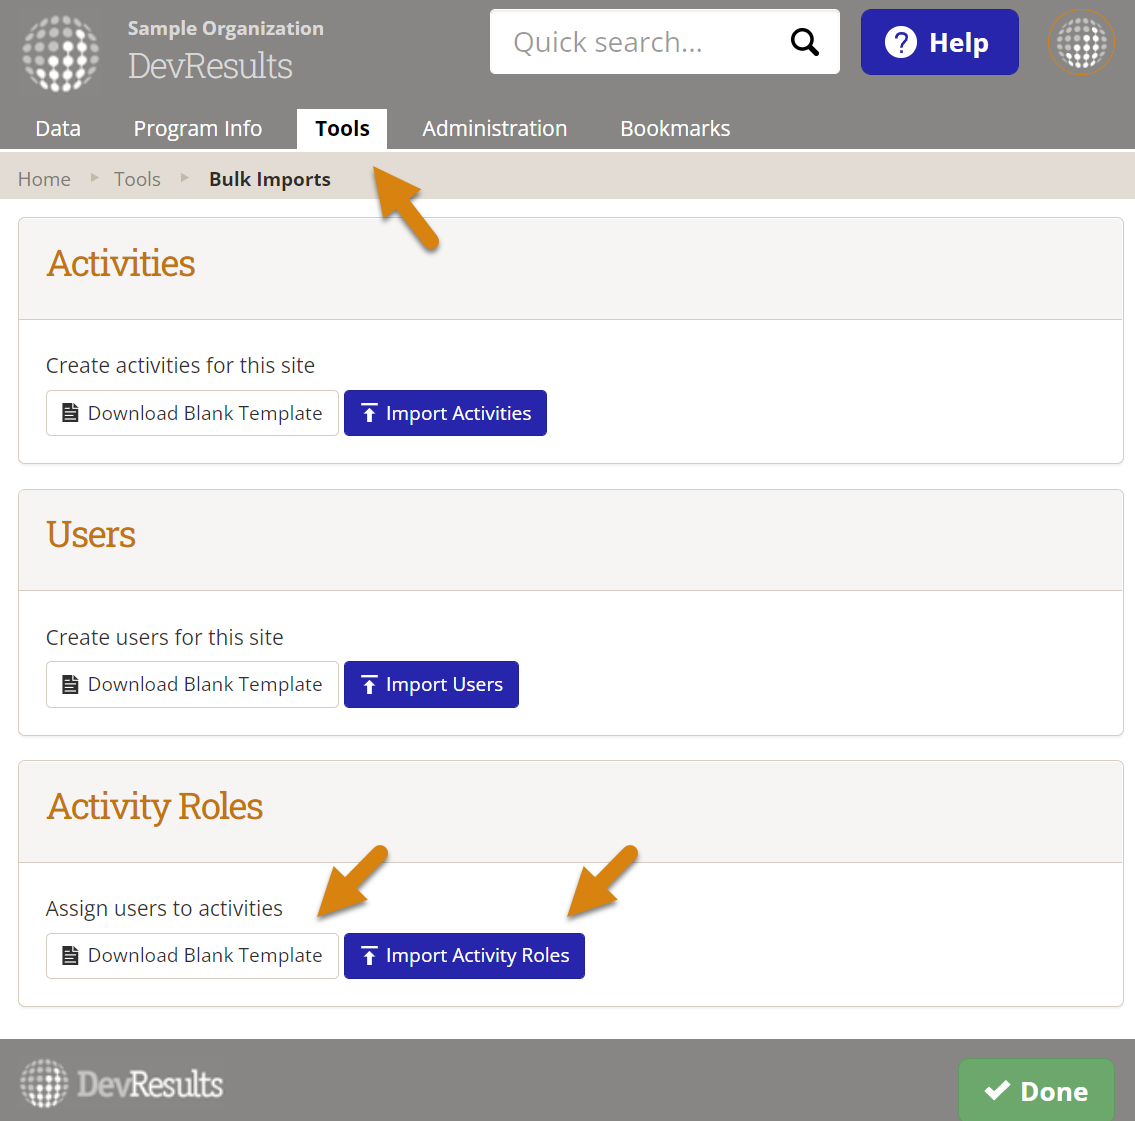
Import assignments from the bulk imports page
- Go to Tools > Bulk Imports.
- Download the template for Project Roles.
- Add a row for each project-user assignment. You can add as many assignments as needed for multiple users and multiple projects.
- Import the template by clicking on the Import Project Roles button on the Bulk Imports page and following the prompts in the pop-up.
Example template with project-user assignments:
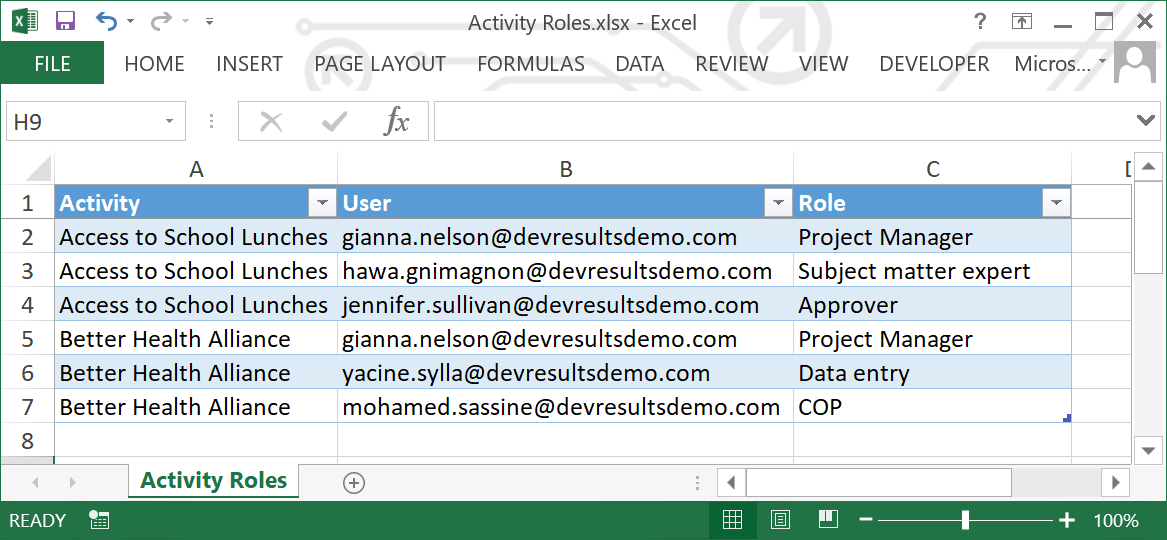
Optional: In the Role column, add the role the user has for this project. This might differ from their formal job title, as users might have different roles within different projects.
Didn't answer your question? Please email us at help@devresults.com.