DevResults offers several tools for defining reporting periods:
- Create or edit a single reporting period
- Create or edit multiple reporting periods using an Excel upload
Note: Any user whose group includes View & Edit permissions for Reporting Periods can create new reporting periods.
Create a reporting period
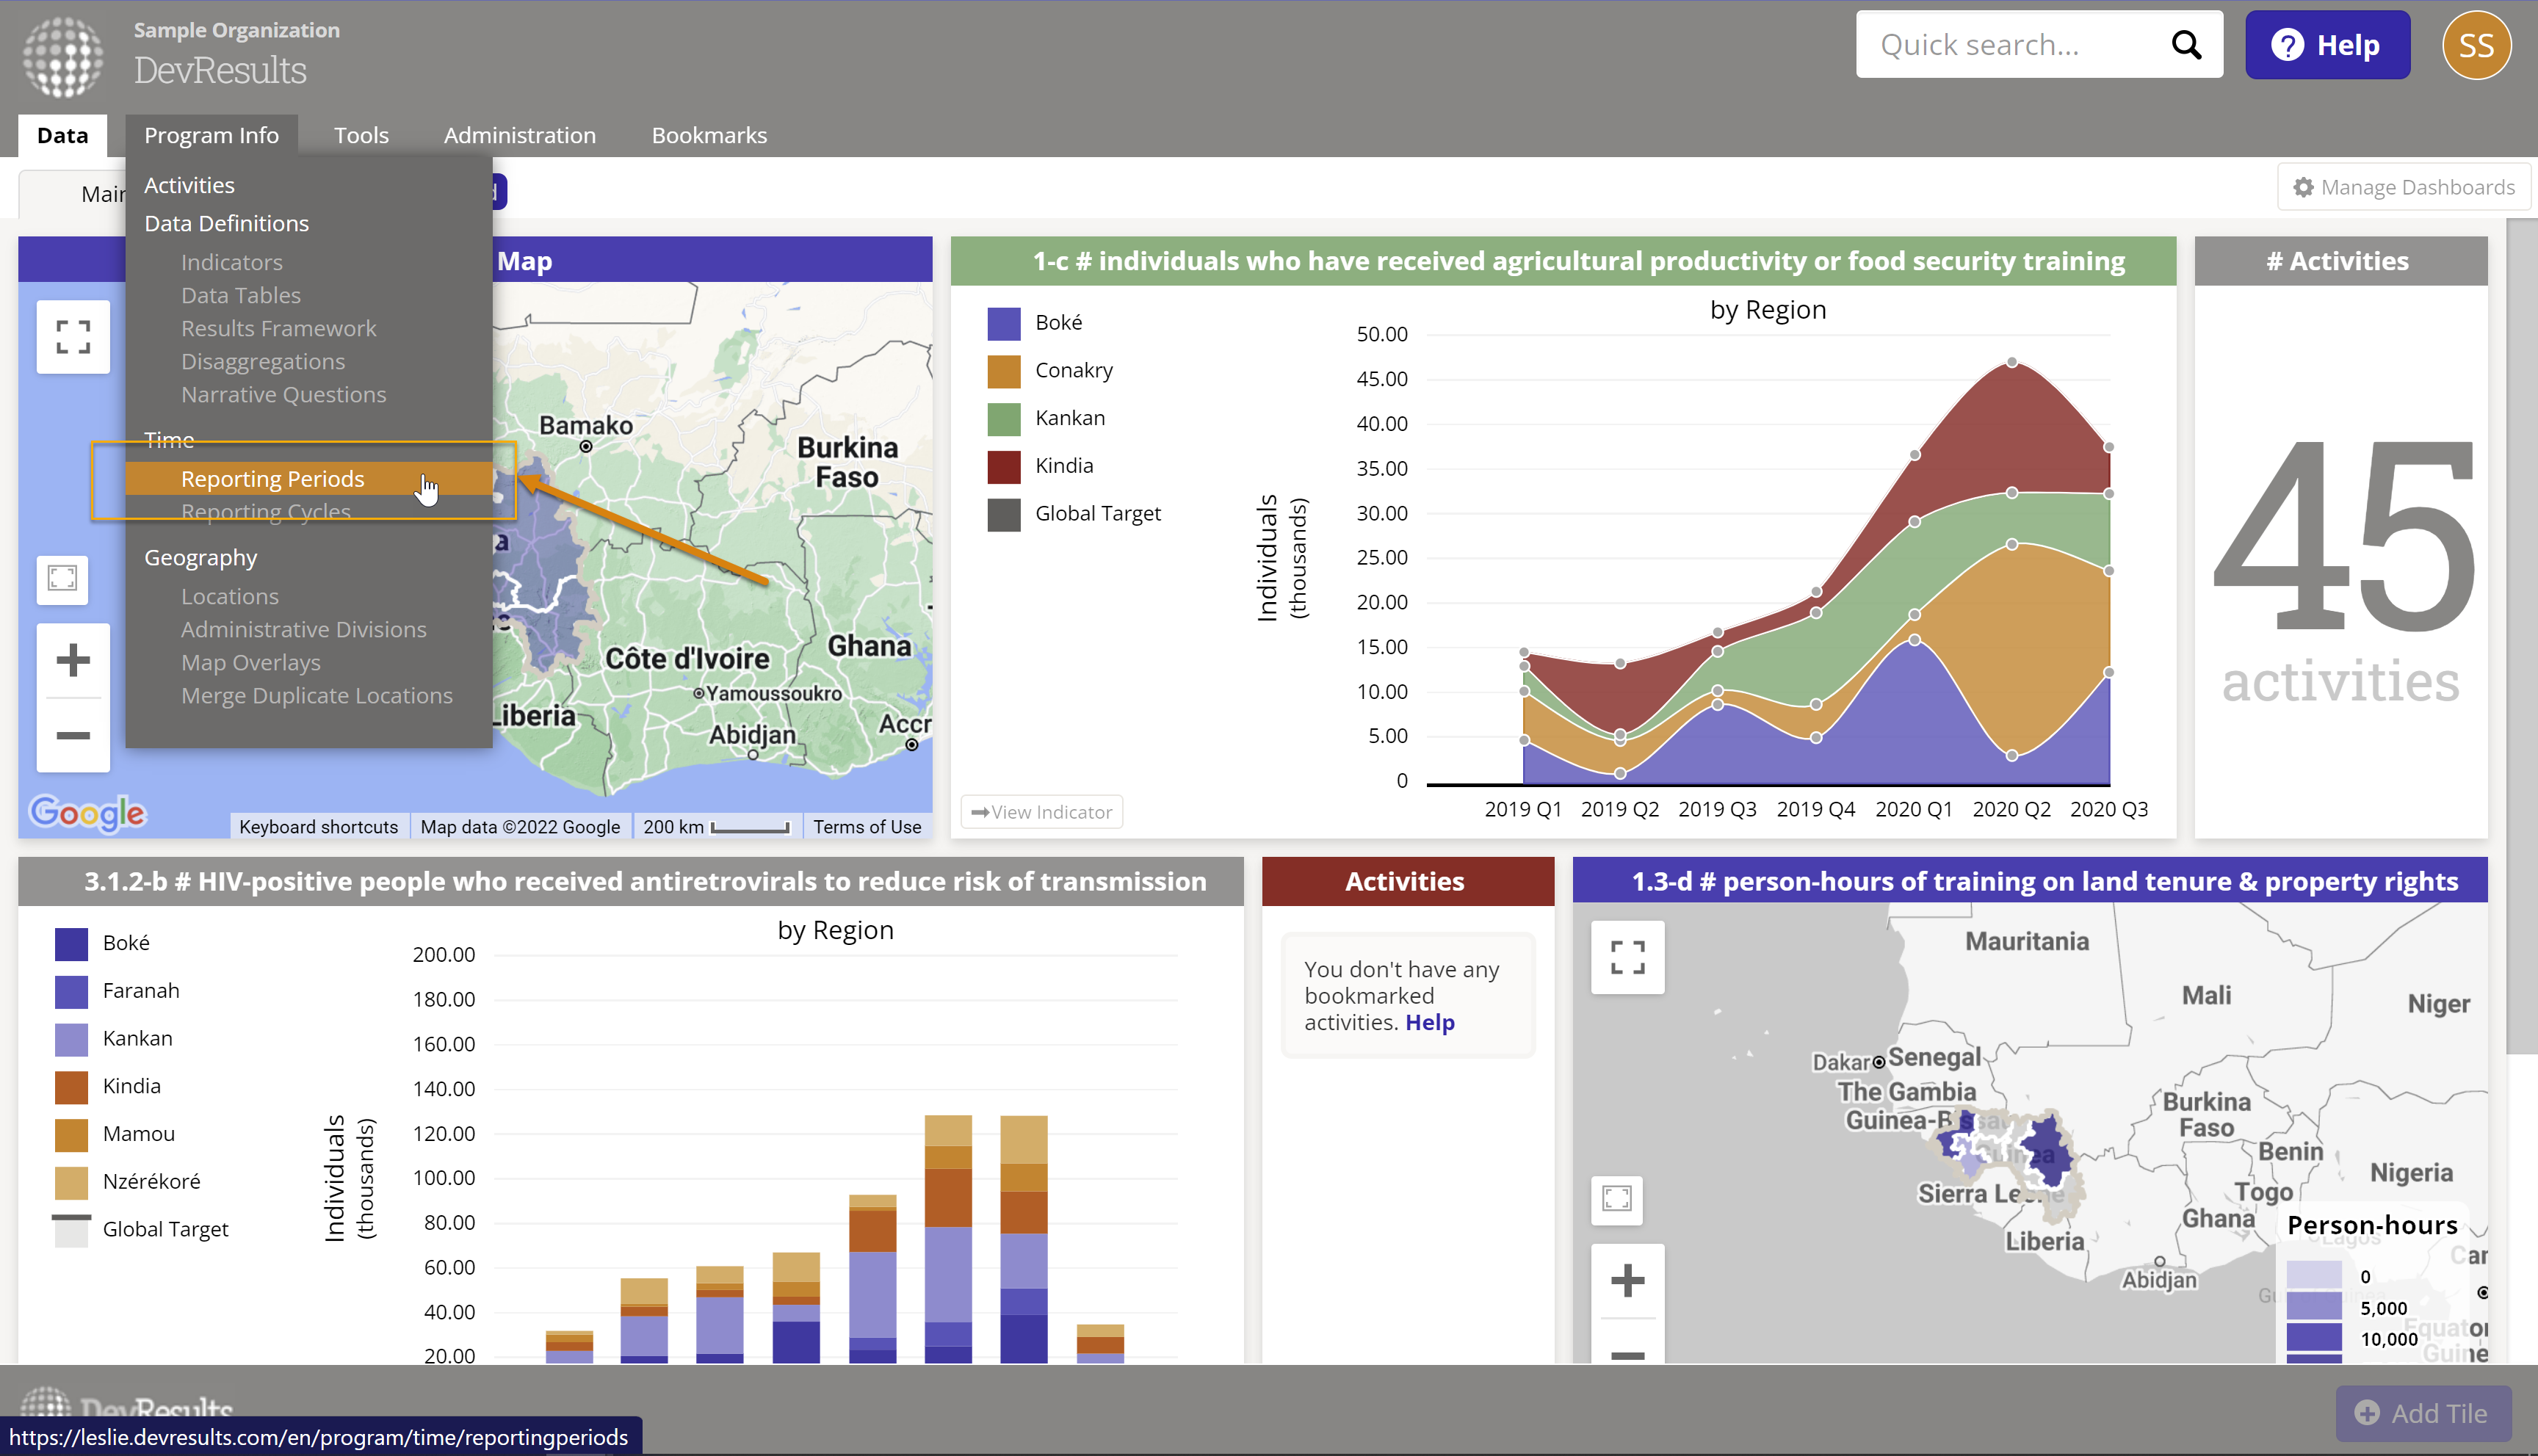
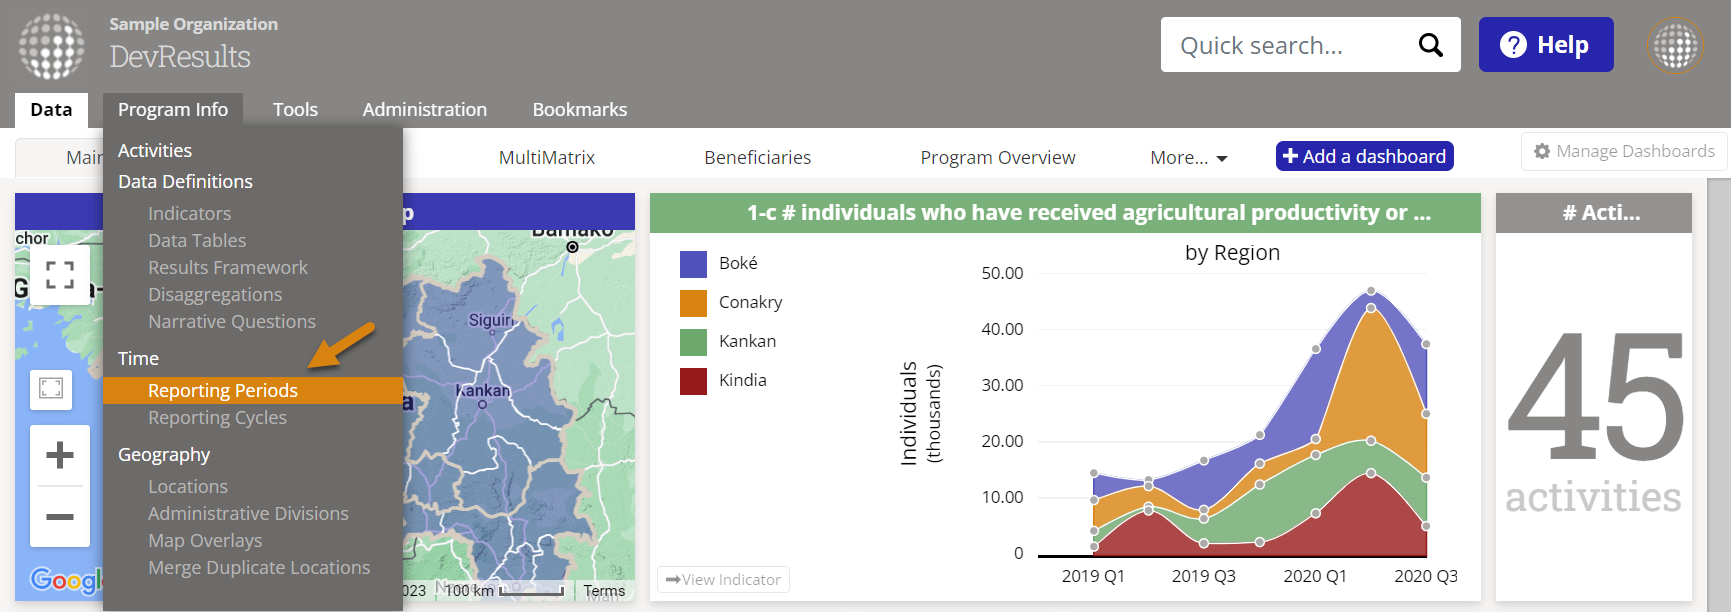
To add a new Reporting Period, hover over the Program Info tab at the top of any screen and select Reporting Periods.
This will open the reporting periods index page. To create a new reporting period, click the + New Reporting Period button in the lower right.

In the Create New Reporting Period pop-up, type the name of the new reporting period and click the + Create Reporting Period button.

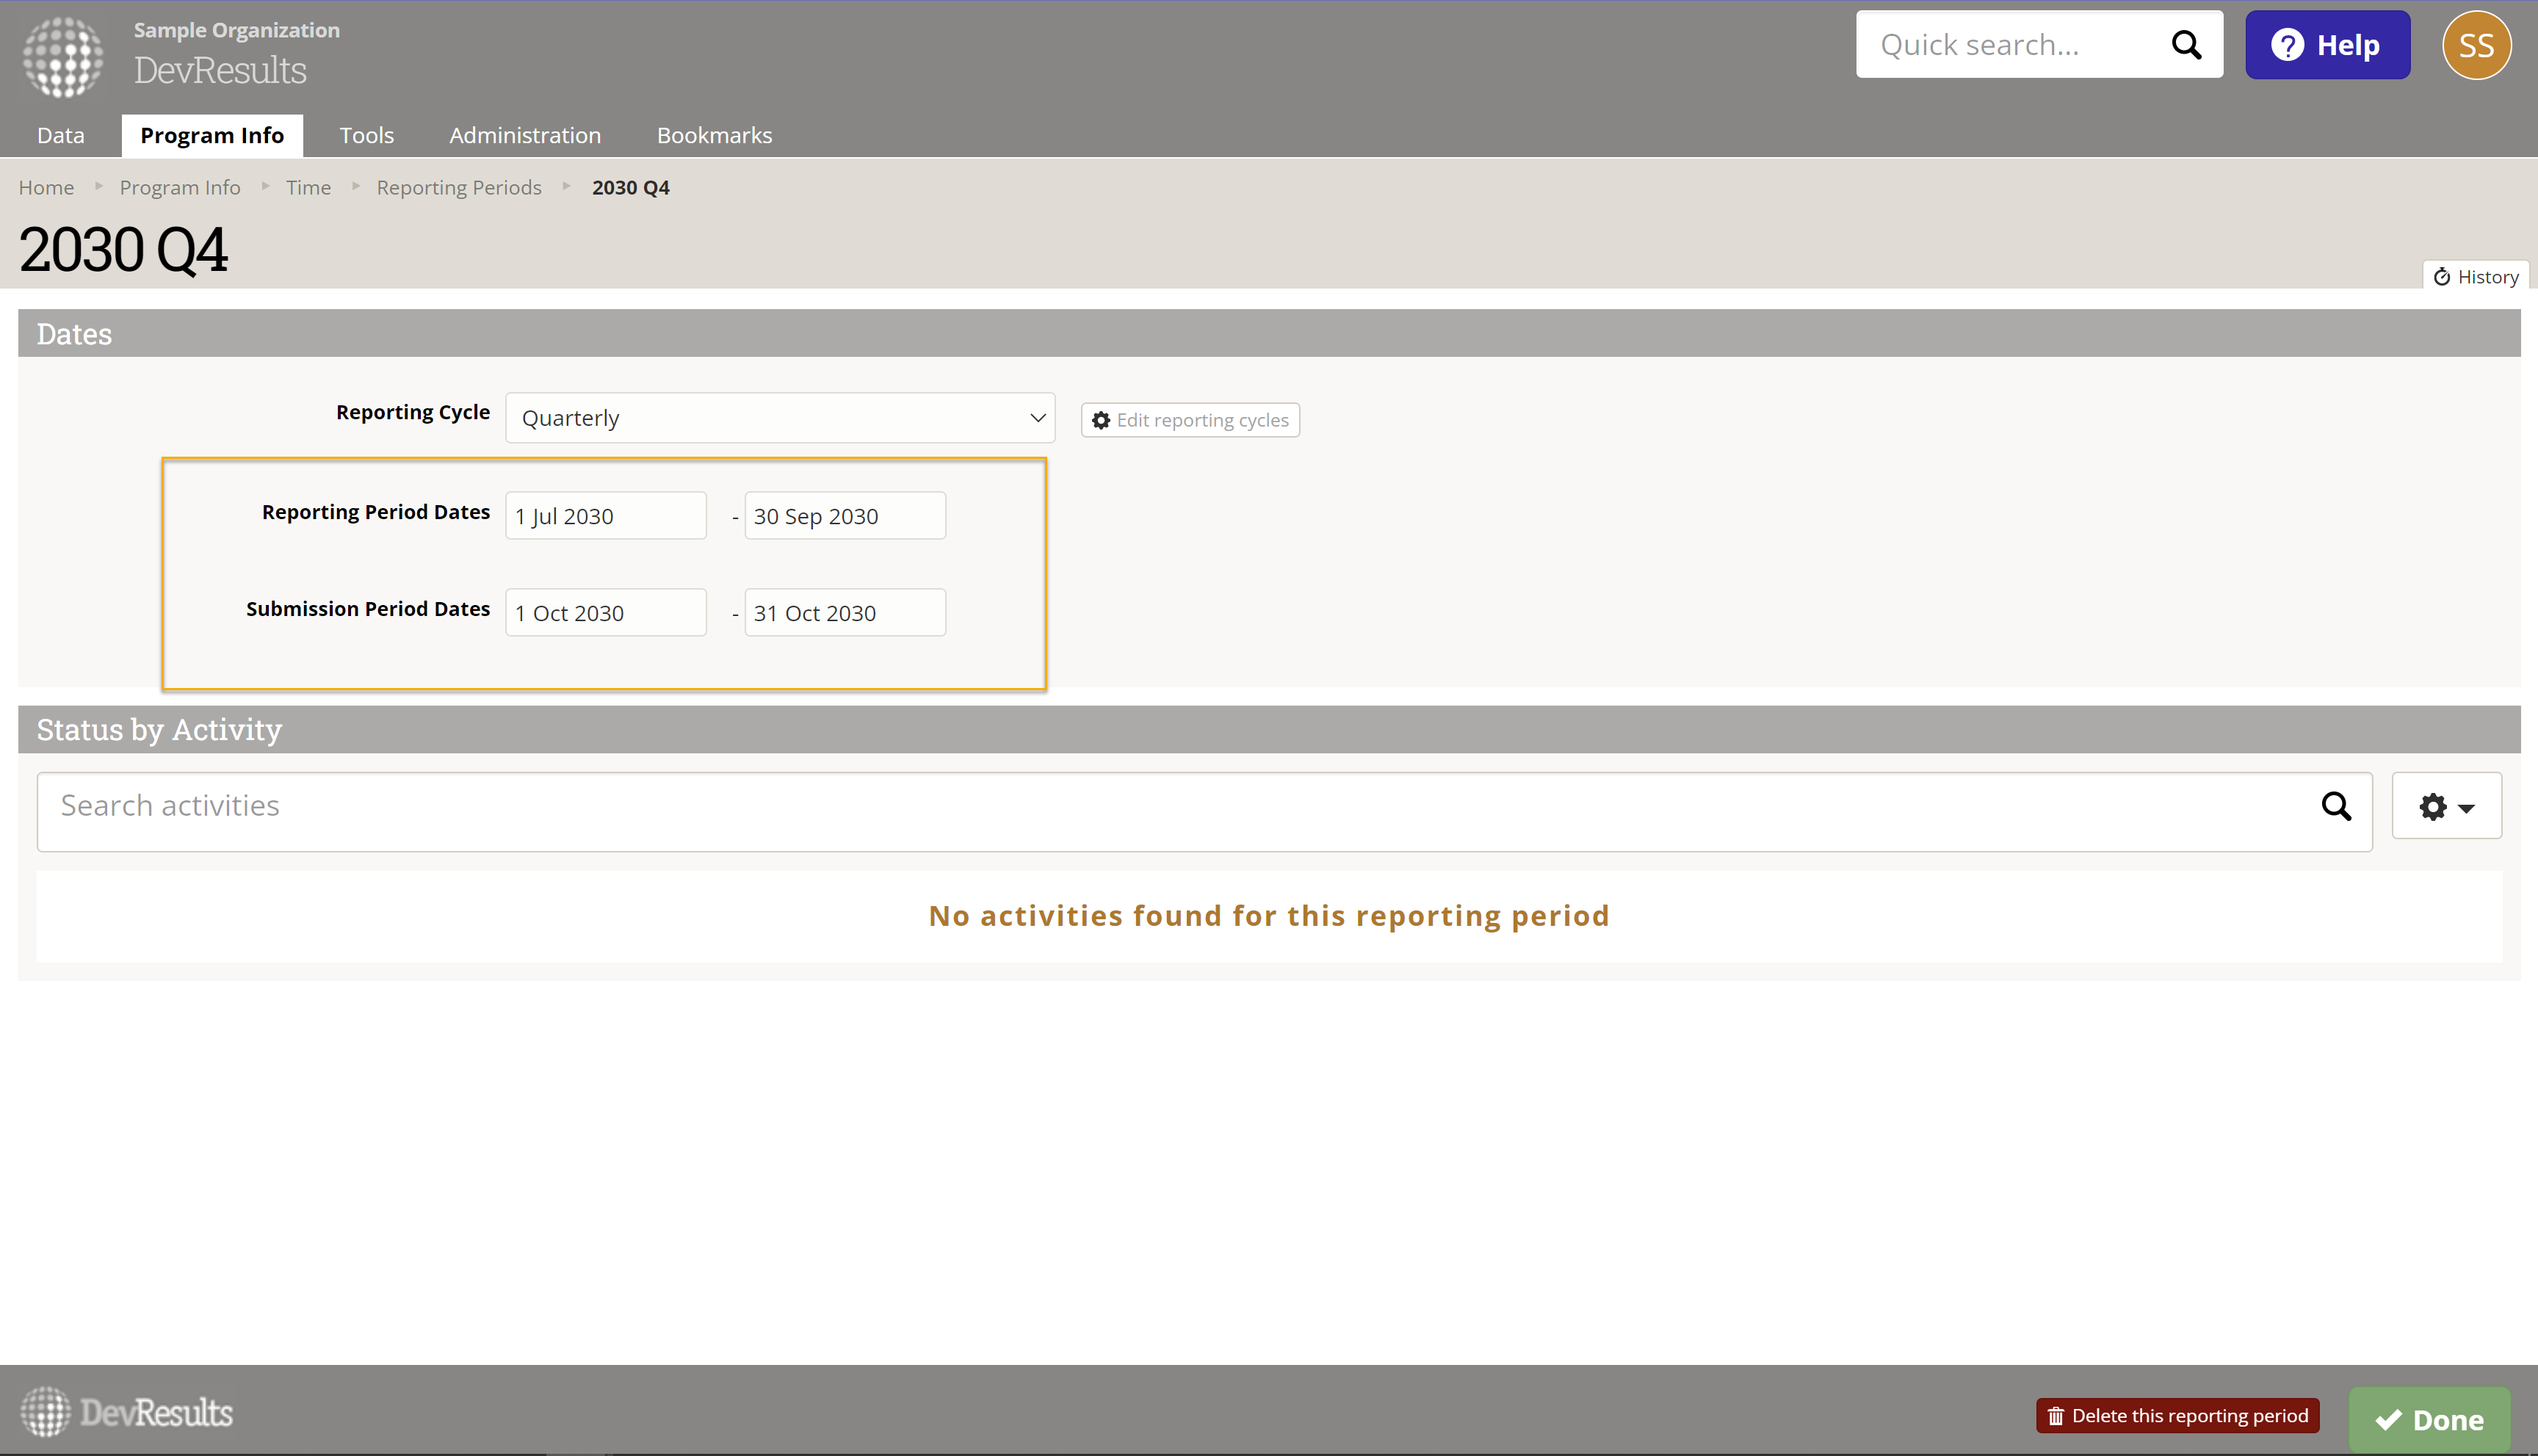
You will be taken to the new reporting period's page where you can define the reporting period.
- If your site has more than one reporting cycle, you must select the appropriate Reporting Cycle for this reporting period. (If your site only has one reporting cycle, you won't see this option.)
- Define the start end end of the reporting period with the Reporting Period Dates.
- Define the submission window (when data may be entered for the period) with the Submission Period Dates.
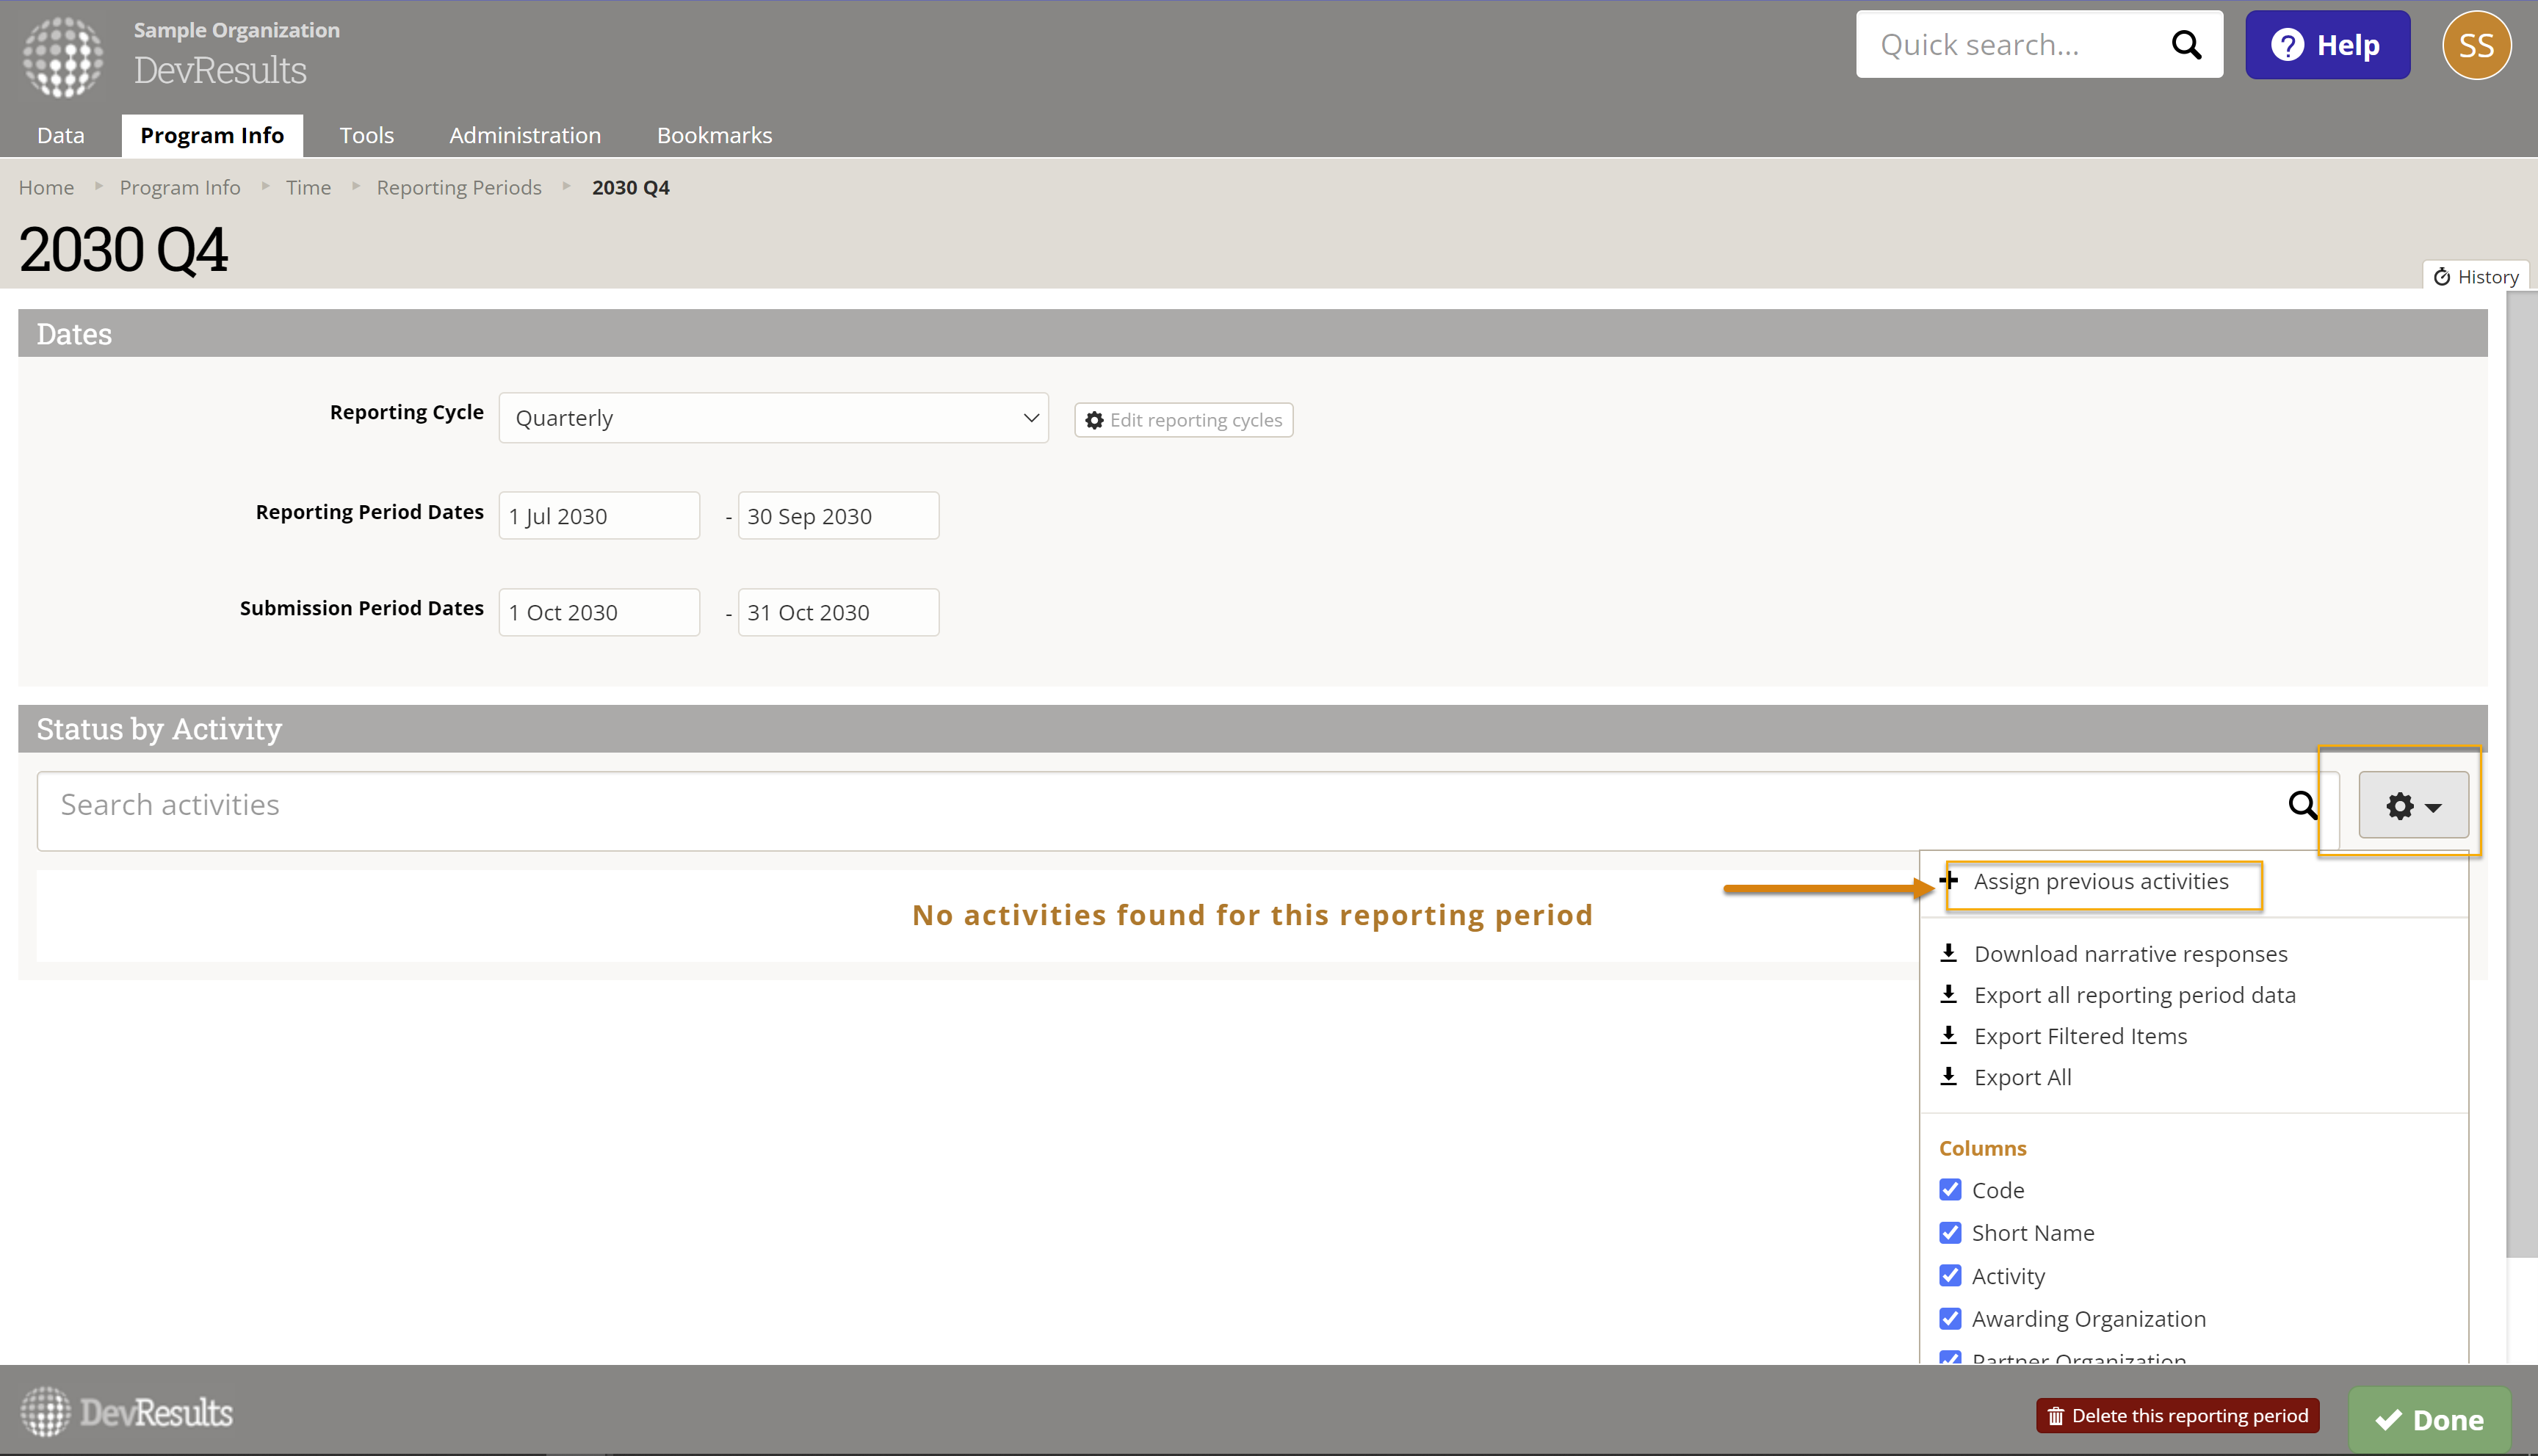
If you are creating the next reporting period in a cycle that already has projects assigned to the previous period, you can use the Assign previous projects button to automatically assign all the projects that reported on the previous reporting period to this one. For example, in creating a FY 2019 Q1 reporting period, clicking this button will assign all the projects that were assigned to the FY 2018 Q4 reporting period. Select the gear on the left hand side and select Assign previous projects from the drop down menu.
Edit a reporting period
To add a new Reporting Period, hover over the Results tab at the top of any screen and select Reporting Periods. This will open the reporting periods index page.
Click on the reporting period you'd like to edit. Make desired changes.
Note: Reporting period start and end dates should generally not be changed for reporting periods that have data. If data was reported for a January-March reporting period and you changed the dates to April-June, all the data for that reporting period would be moved to April-June.
The same rule applies to reporting period names. If you change a reporting period name from 2019 Q1 to 2019 Q2, all the data for the Q1 reporting period will be re-defined as belonging to Q2.
It is appropriate to change reporting period start and end dates if they were incorrect, and it's appropriate to change reporting period names to something synonymous, like changing "2019 Annual" to "2019".
Changing the submission window dates can be changed without affecting any indicator data. This only changes when project partners are able to enter data for a given reporting period.
Upload new reporting periods
To add many new reporting periods at once, you can upload a spreadsheet containing their definitions instead of creating each reporting period individually. There are three approaches to creating a spreadsheet with the desired list of reporting periods.
Approach #1: Export existing reporting periods and extend the pattern
This approach works well if you're merely extending the pattern of dates for your current set of reporting periods into the future.
First, navigate to the reporting period index (Program Info > Time / Reporting Periods).
On this page, click on the gearbox menu in the upper right and then click Export All to get an Excel template of all your existing reporting periods. If you only want to add reporting periods for a certain reporting cycle (e.g. Quarterly), you can use the search bar to filter for that cycle only and then Export Filtered Items instead.
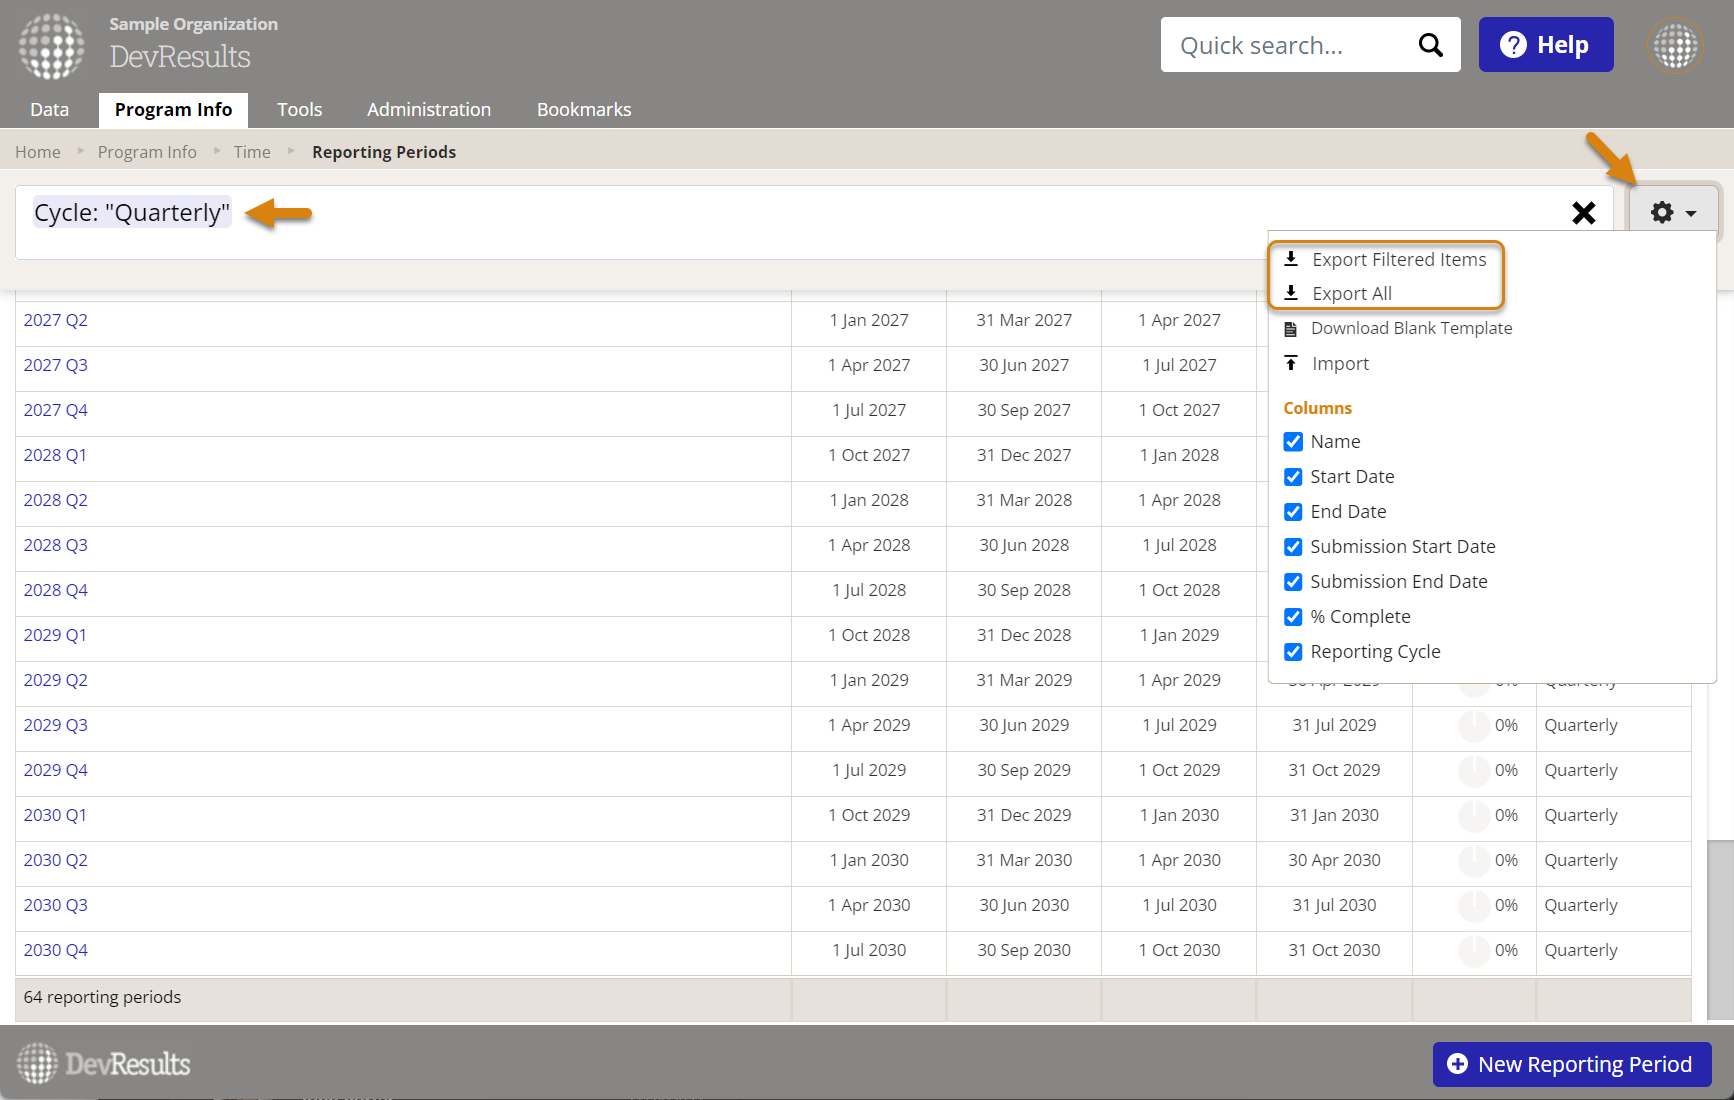
In Excel, start by sorting the list of reporting periods by Name or by Start Date to put them in a logical first-to-last, earliest-to-latest order. If you choose to Export All reporting periods from multiple reporting cycles, you may need to filter for one reporting cycle at a time.
There's a bit of an art to 'teaching' Excel the pattern and getting it to follow long. The trick is to highlight enough rows for it to see what you want, for every column except the reportingPeriodID column. Then, grab the "fill handle" (the small black square in the bottom right corner of the highlighted cells) and drag it down for as many new rows as you need. For instance, for annual reporting periods, highlighting two rows to start should be enough to show Excel that you want each row to add one year to the previous. For quarterly reporting periods, highlighting four rows to start is best (so that Excel can see how the naming convention repeats in sets of four).
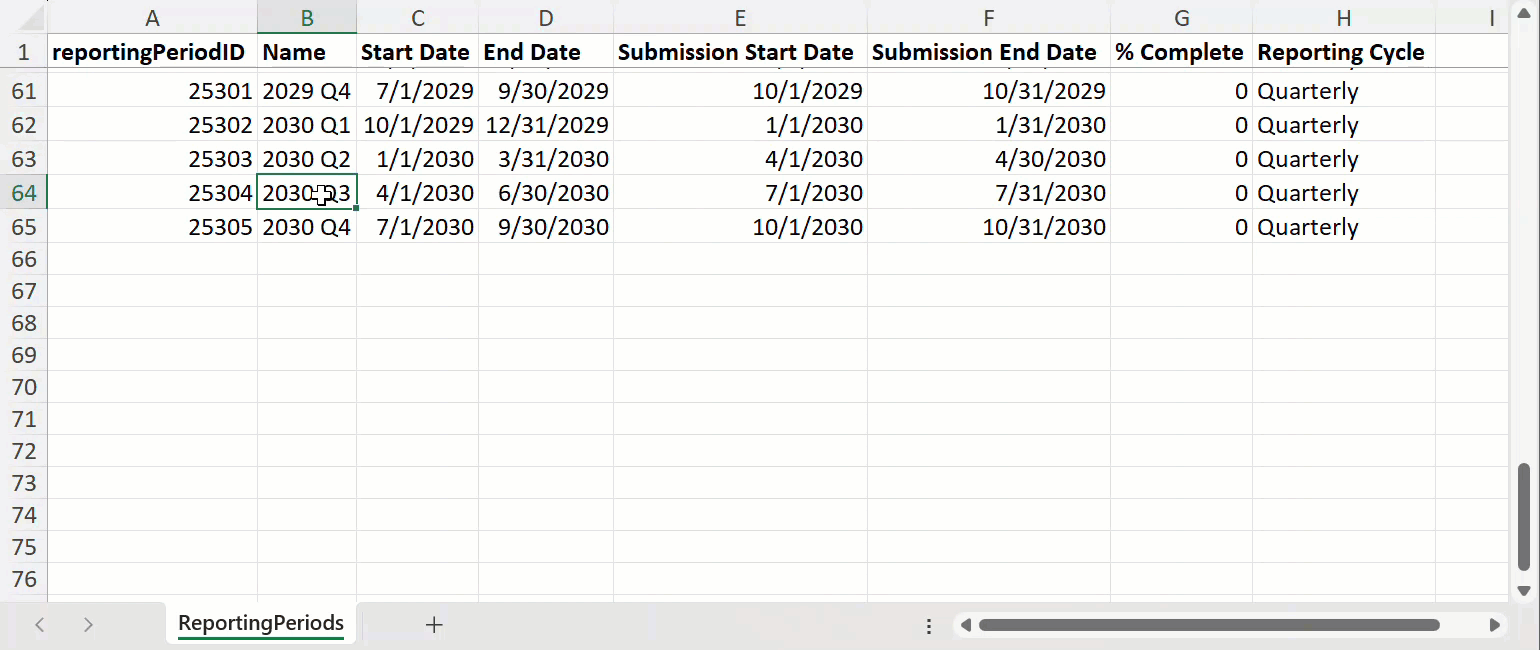
Double check that all start and end dates, naming conventions, etc. have been carried forward as you would expect. Sometimes Excel may not recognize the pattern, in which case you will have to edit those fields manually.
Skip to the end of this section to see how to import your list of reporting periods.
Approach #2: Generate a list of reporting periods from DevResults
If your reporting periods are fairly standard and/or you do not yet have a set of reporting periods to use as a template for Approach #1, you can generate one from the Reporting Cycles page.
Navigate to Program Info > Time / Reporting Cycles. If you do not already have a reporting cycle (e.g. Annual, Quarterly, etc.) for the reporting periods you want to add, you can define a Reporting Cycle on this page.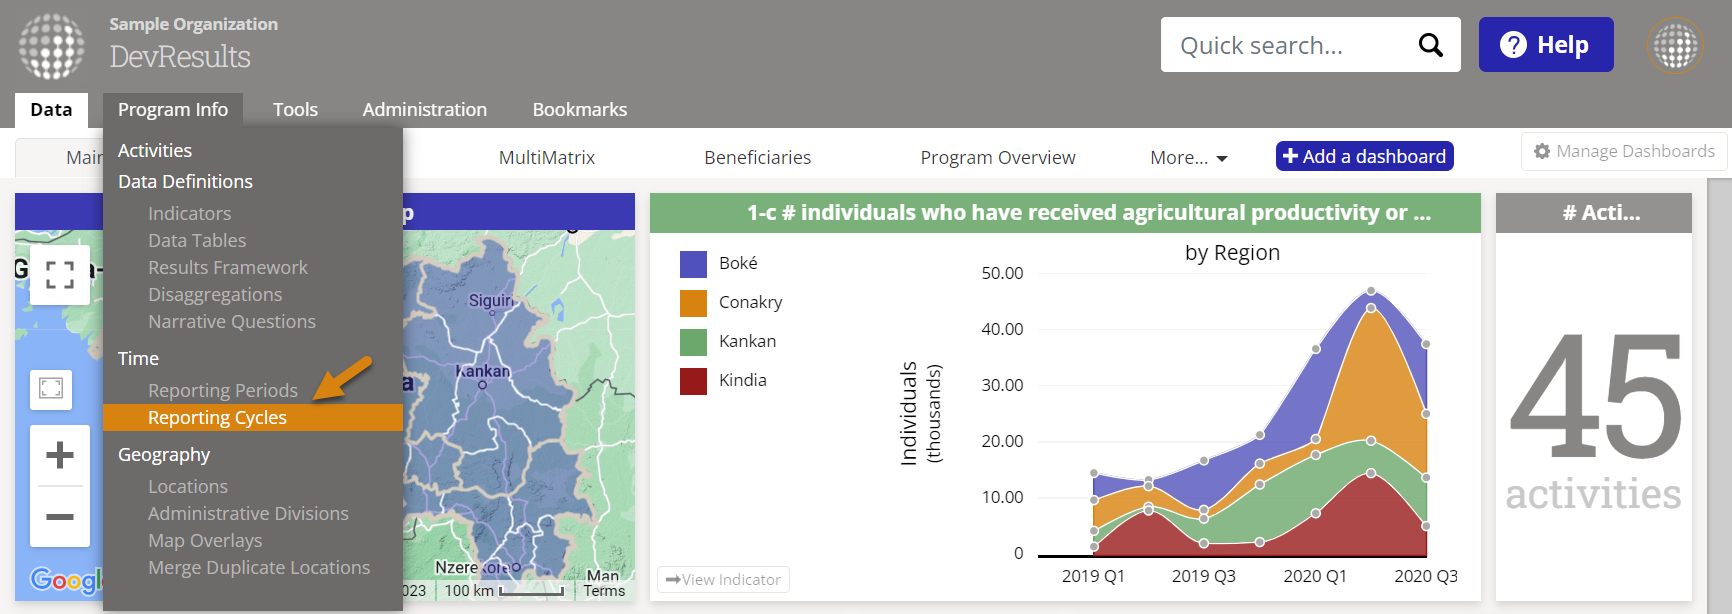
Once at least one reporting cycle exists, a white Generate Reporting Periods button will appear. Click this to open a window that will prompt you to choose a reporting cycle and enter a start and end date for the range of reporting periods you want to create. By using the interval and the submission window you defined for the selected reporting cycle, DevResults will produce a table of reporting periods. You may choose to add names and even edit various dates manually in this table in the app, or do so later in Excel.
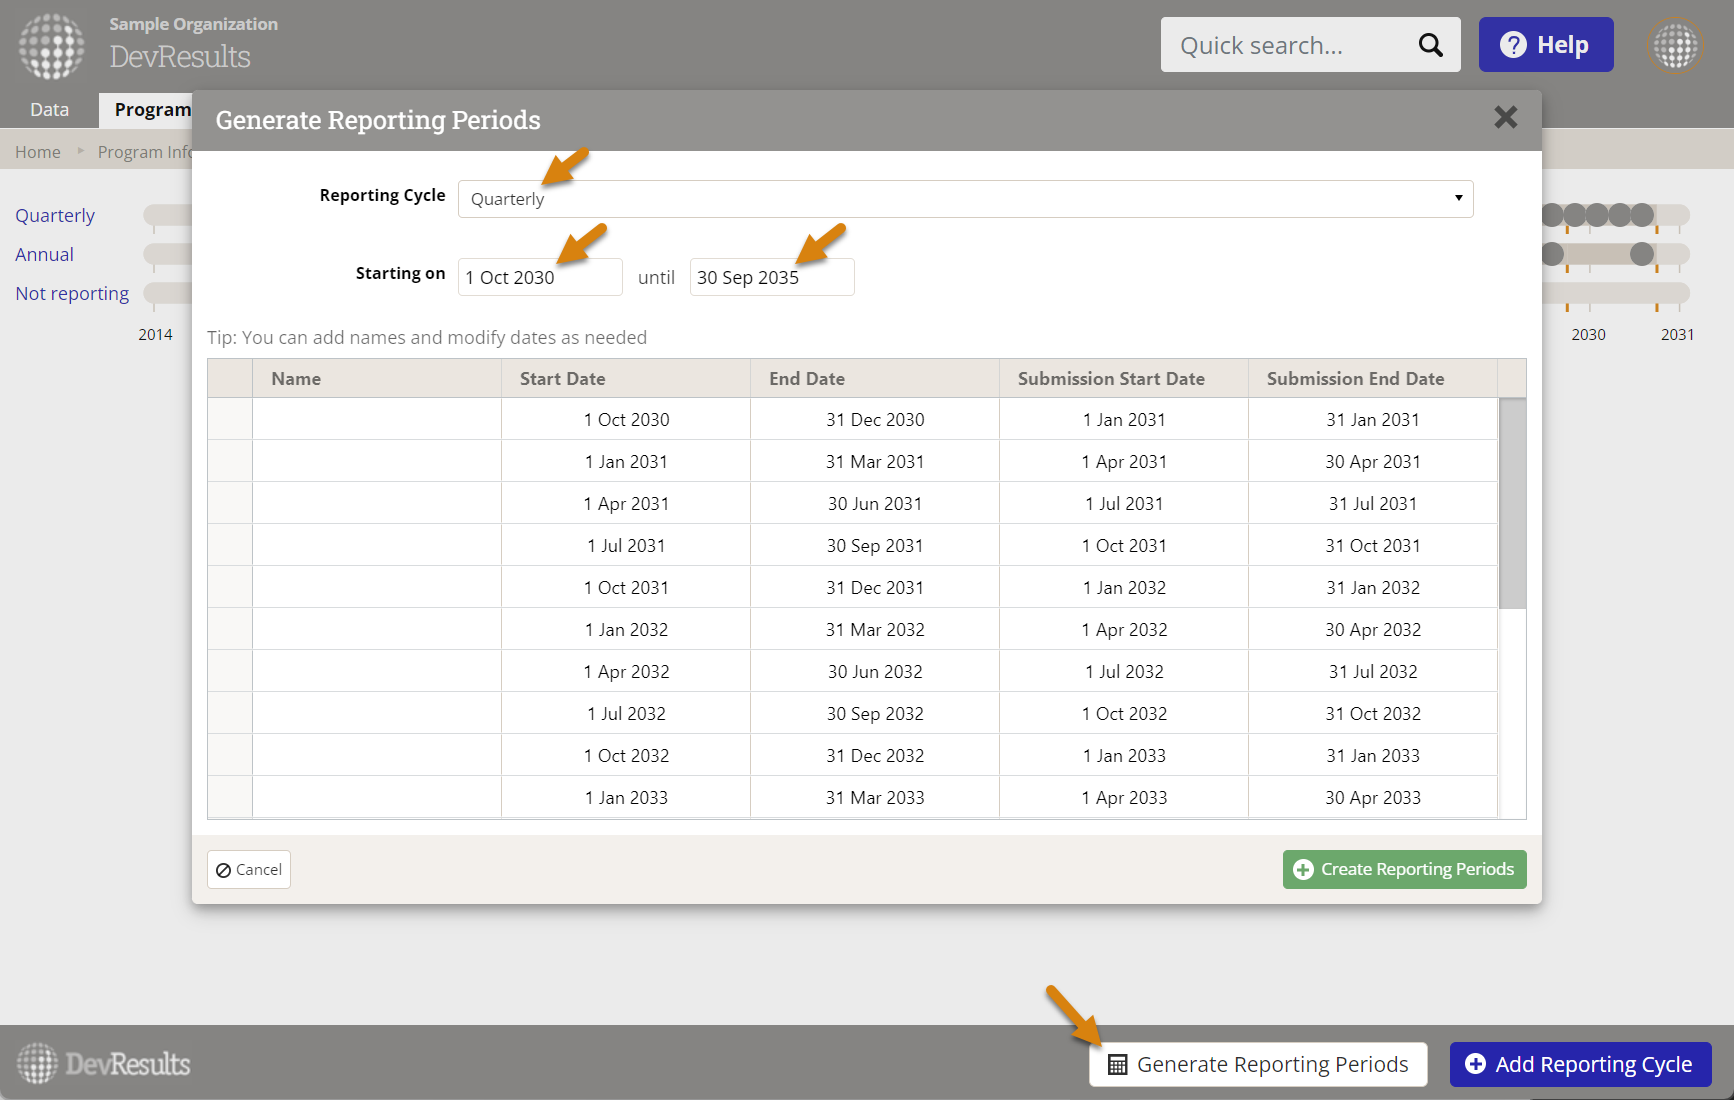
When you are ready, click on the green Create Reporting Periods button. Note that this does not automatically add them to DevResults yet, but only creates the Excel template for you to upload on the Reporting Periods index page.
Skip to the end of this section to see how to import your list of reporting periods.
Approach #3: Download a blank template and produce your own list of reporting periods
This is the most difficult approach, but it may be best if your reporting periods are irregular, or if you have above-average levels of familiarity with Excel date formulas!
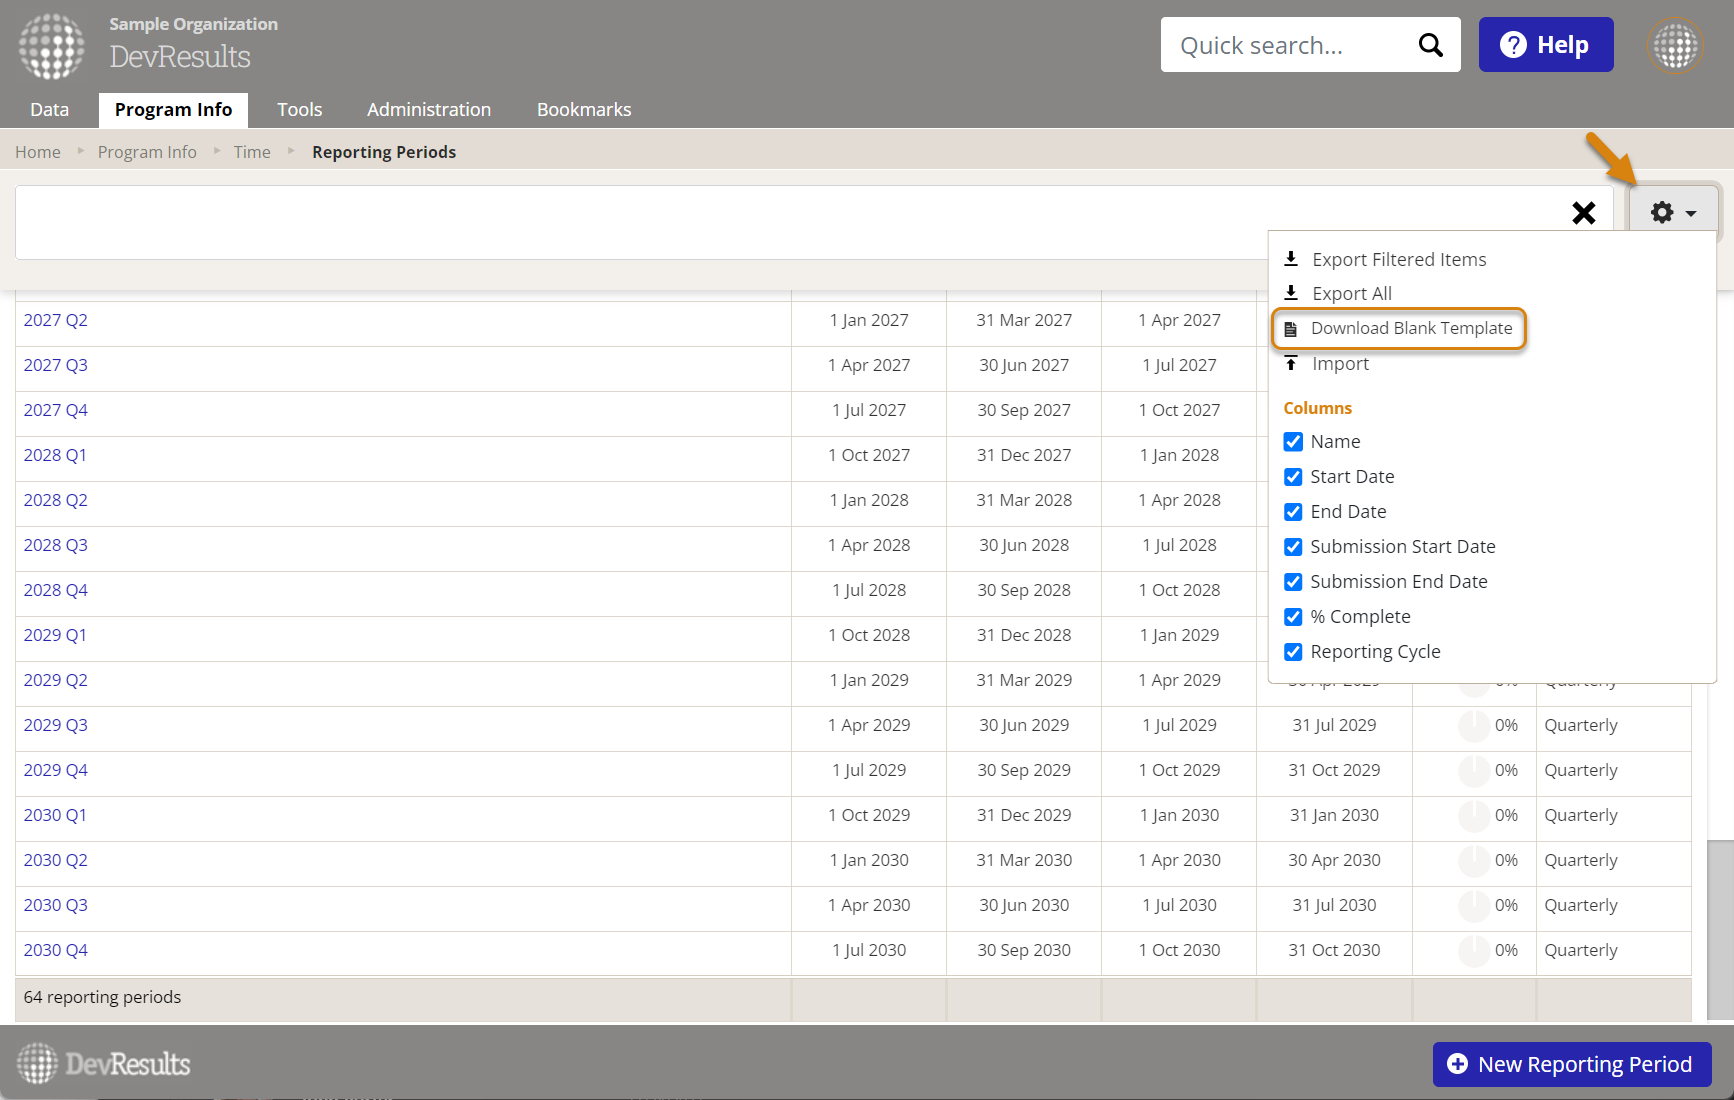
First, navigate to the reporting period index (Program Info > Time / Reporting Periods).
On this page, click on the gearbox menu in the upper right and then click Download Blank Template to get an empty Excel template with all required columns. You're on your own from here!
Skip to the end of this section to see how to import your list of reporting periods.

Importing reporting periods
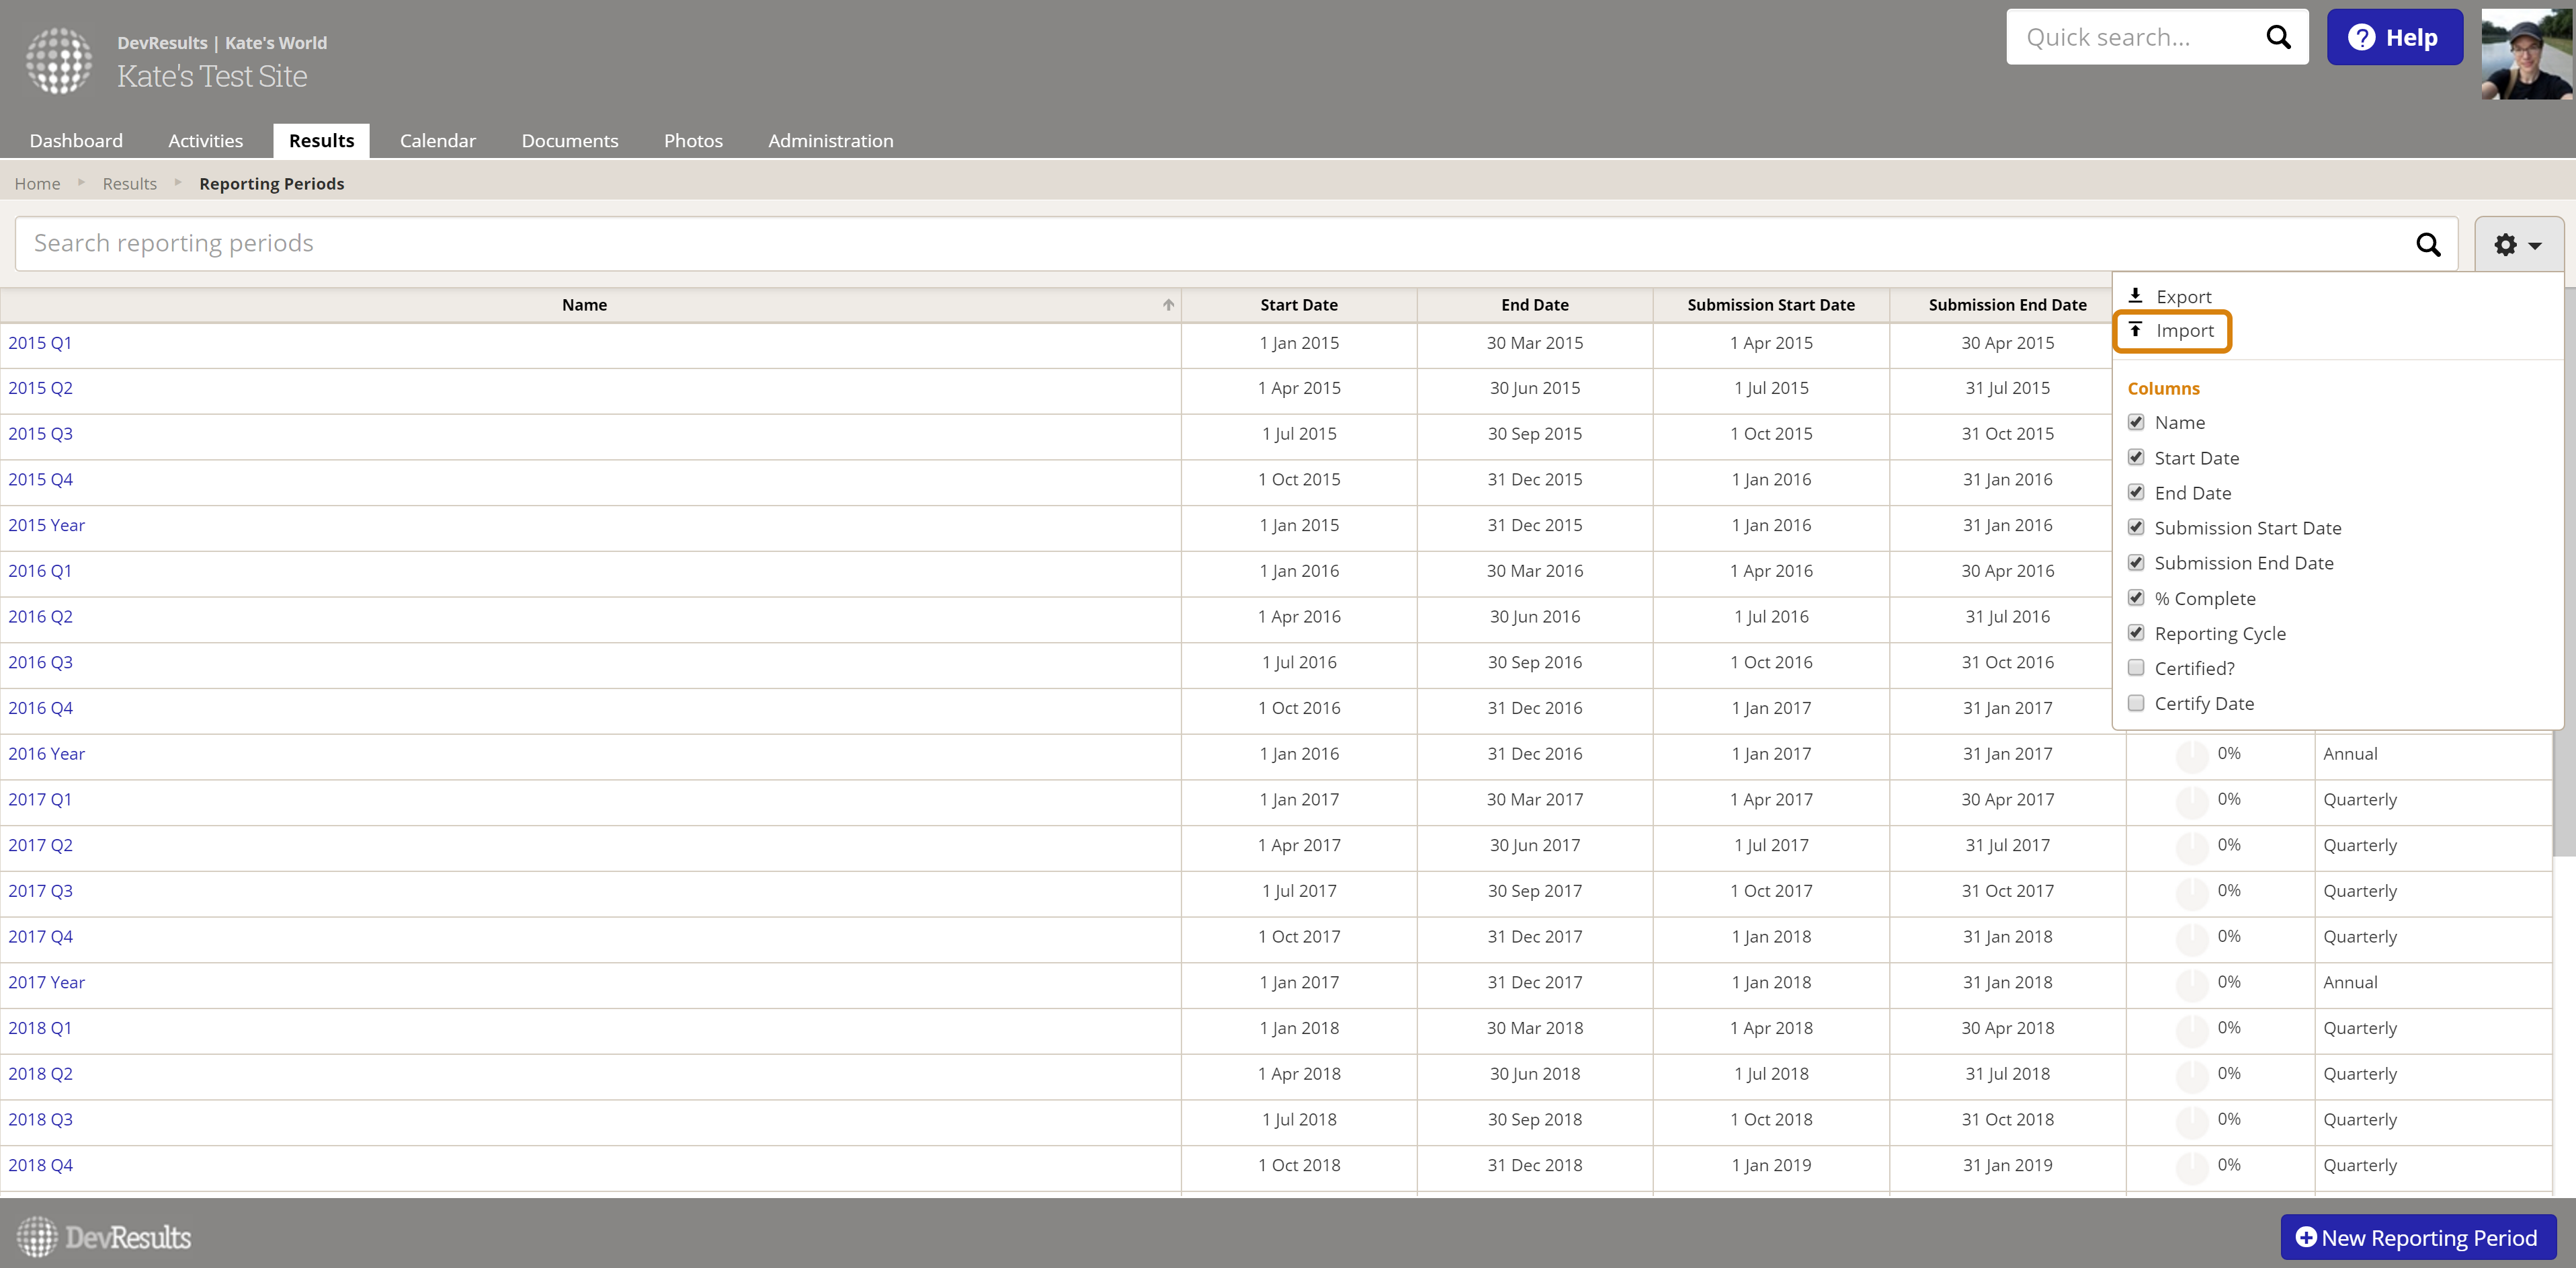
Once you have your spreadsheet updated and saved with the new reporting periods you want to add, click the gear icon again and select Import.
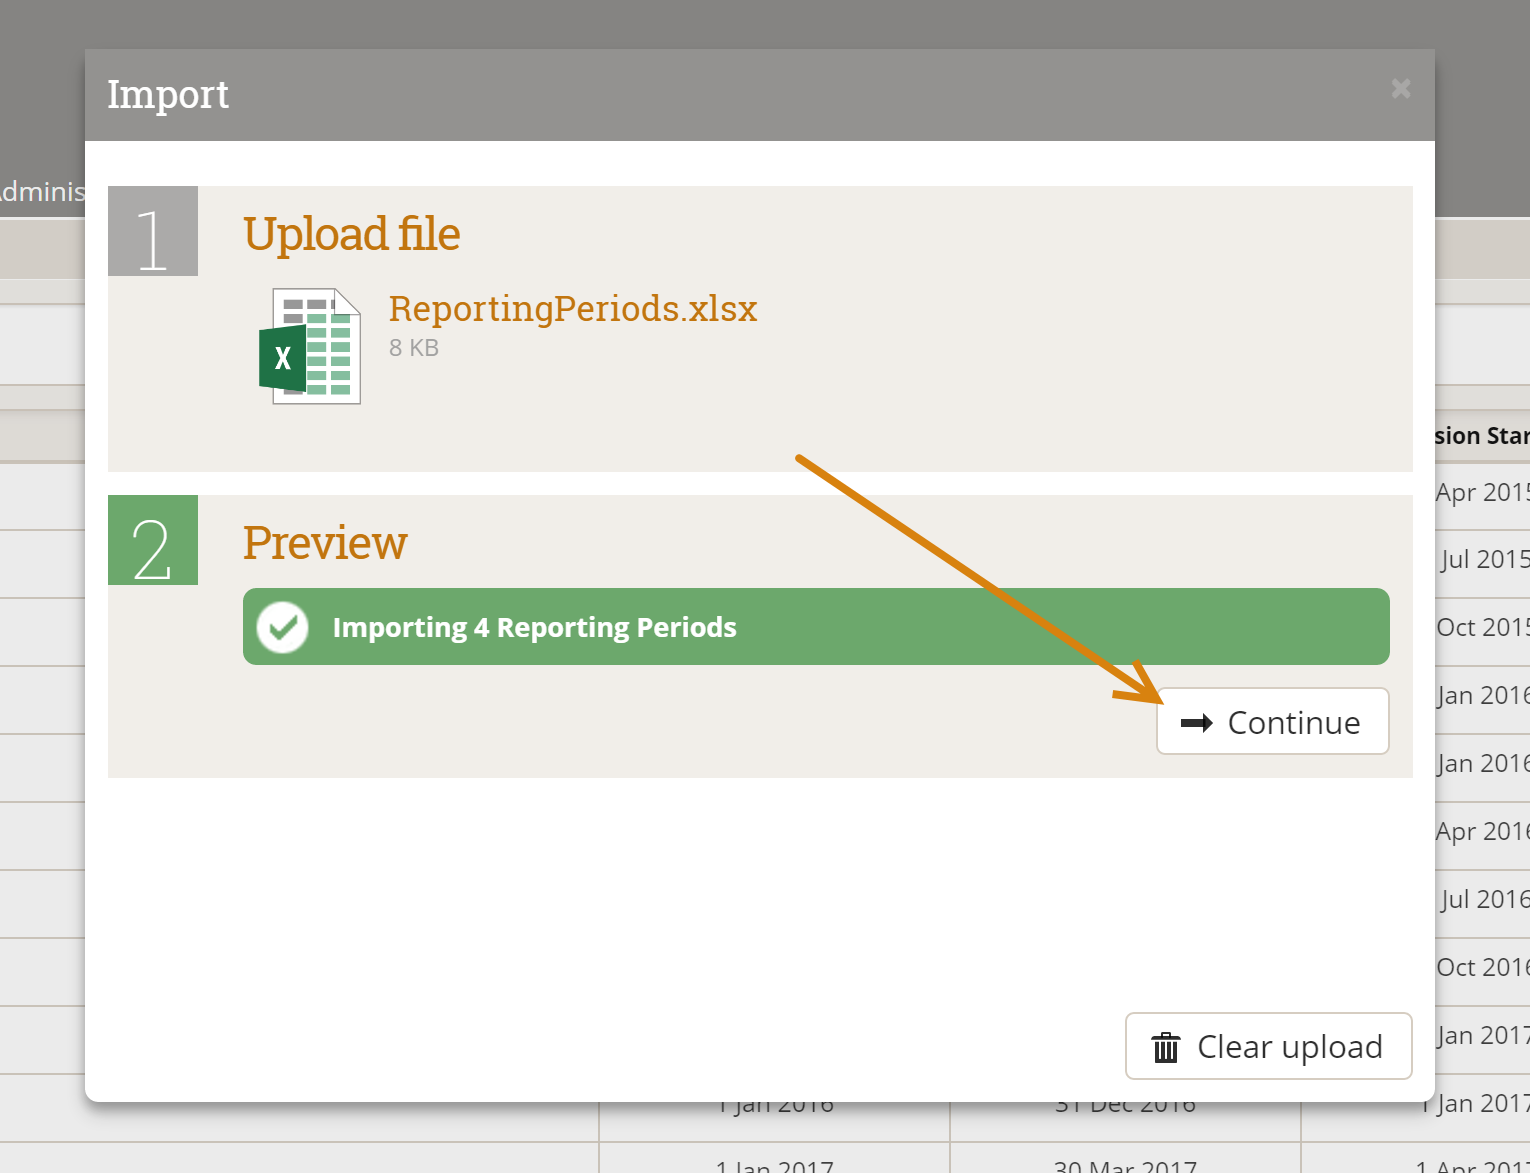
This will open a pop-up window to walk you through the upload process. Choose your file and make sure the summary shows you the expected number of new reporting periods. If there are any errors in the file, you'll get a message explaining what they are. If everything looks good, click Continue.
You'll get a message saying that the reporting periods were imported. Once you click Done, your reporting period index page will refresh and you'll see your new reporting periods there!
Edit multiple reporting periods using an Excel upload
You can also use this tool to complete bulk updates to existing reporting periods. To do so, follow the first few steps in the previous section to download your reporting period index into Excel. Then edit the spreadsheet that you downloaded -- for example, to change the submission window for multiple reporting periods.
Note: To edit existing reporting periods, DO NOT delete or change the reportingPeriodID. This is the only way the system knows which reporting period should be updated.
When you import the spreadsheet, existing reporting periods will be updated with any changes to the spreadsheet.
Didn't answer your question? Please email us at help@devresults.com.